Staining your deck
Staining your deck is an important maintenance task that helps protect the wood from the elements, enhances its appearance, and extends its lifespan. Properly staining a deck not only improves its look but also provides a protective layer against sun damage, moisture, and everyday wear and tear. Here’s a comprehensive guide to staining your deck:
Benefits of Staining Your Deck
- Protection from the Elements:
- Staining seals the wood and provides a barrier against rain, snow, and moisture, preventing water from soaking into the wood fibers, which can lead to warping, splitting, or rotting.
- UV Protection:
- A good quality stain protects the deck from the sun’s harmful UV rays, which can cause fading, discoloration, and degradation of the wood over time.
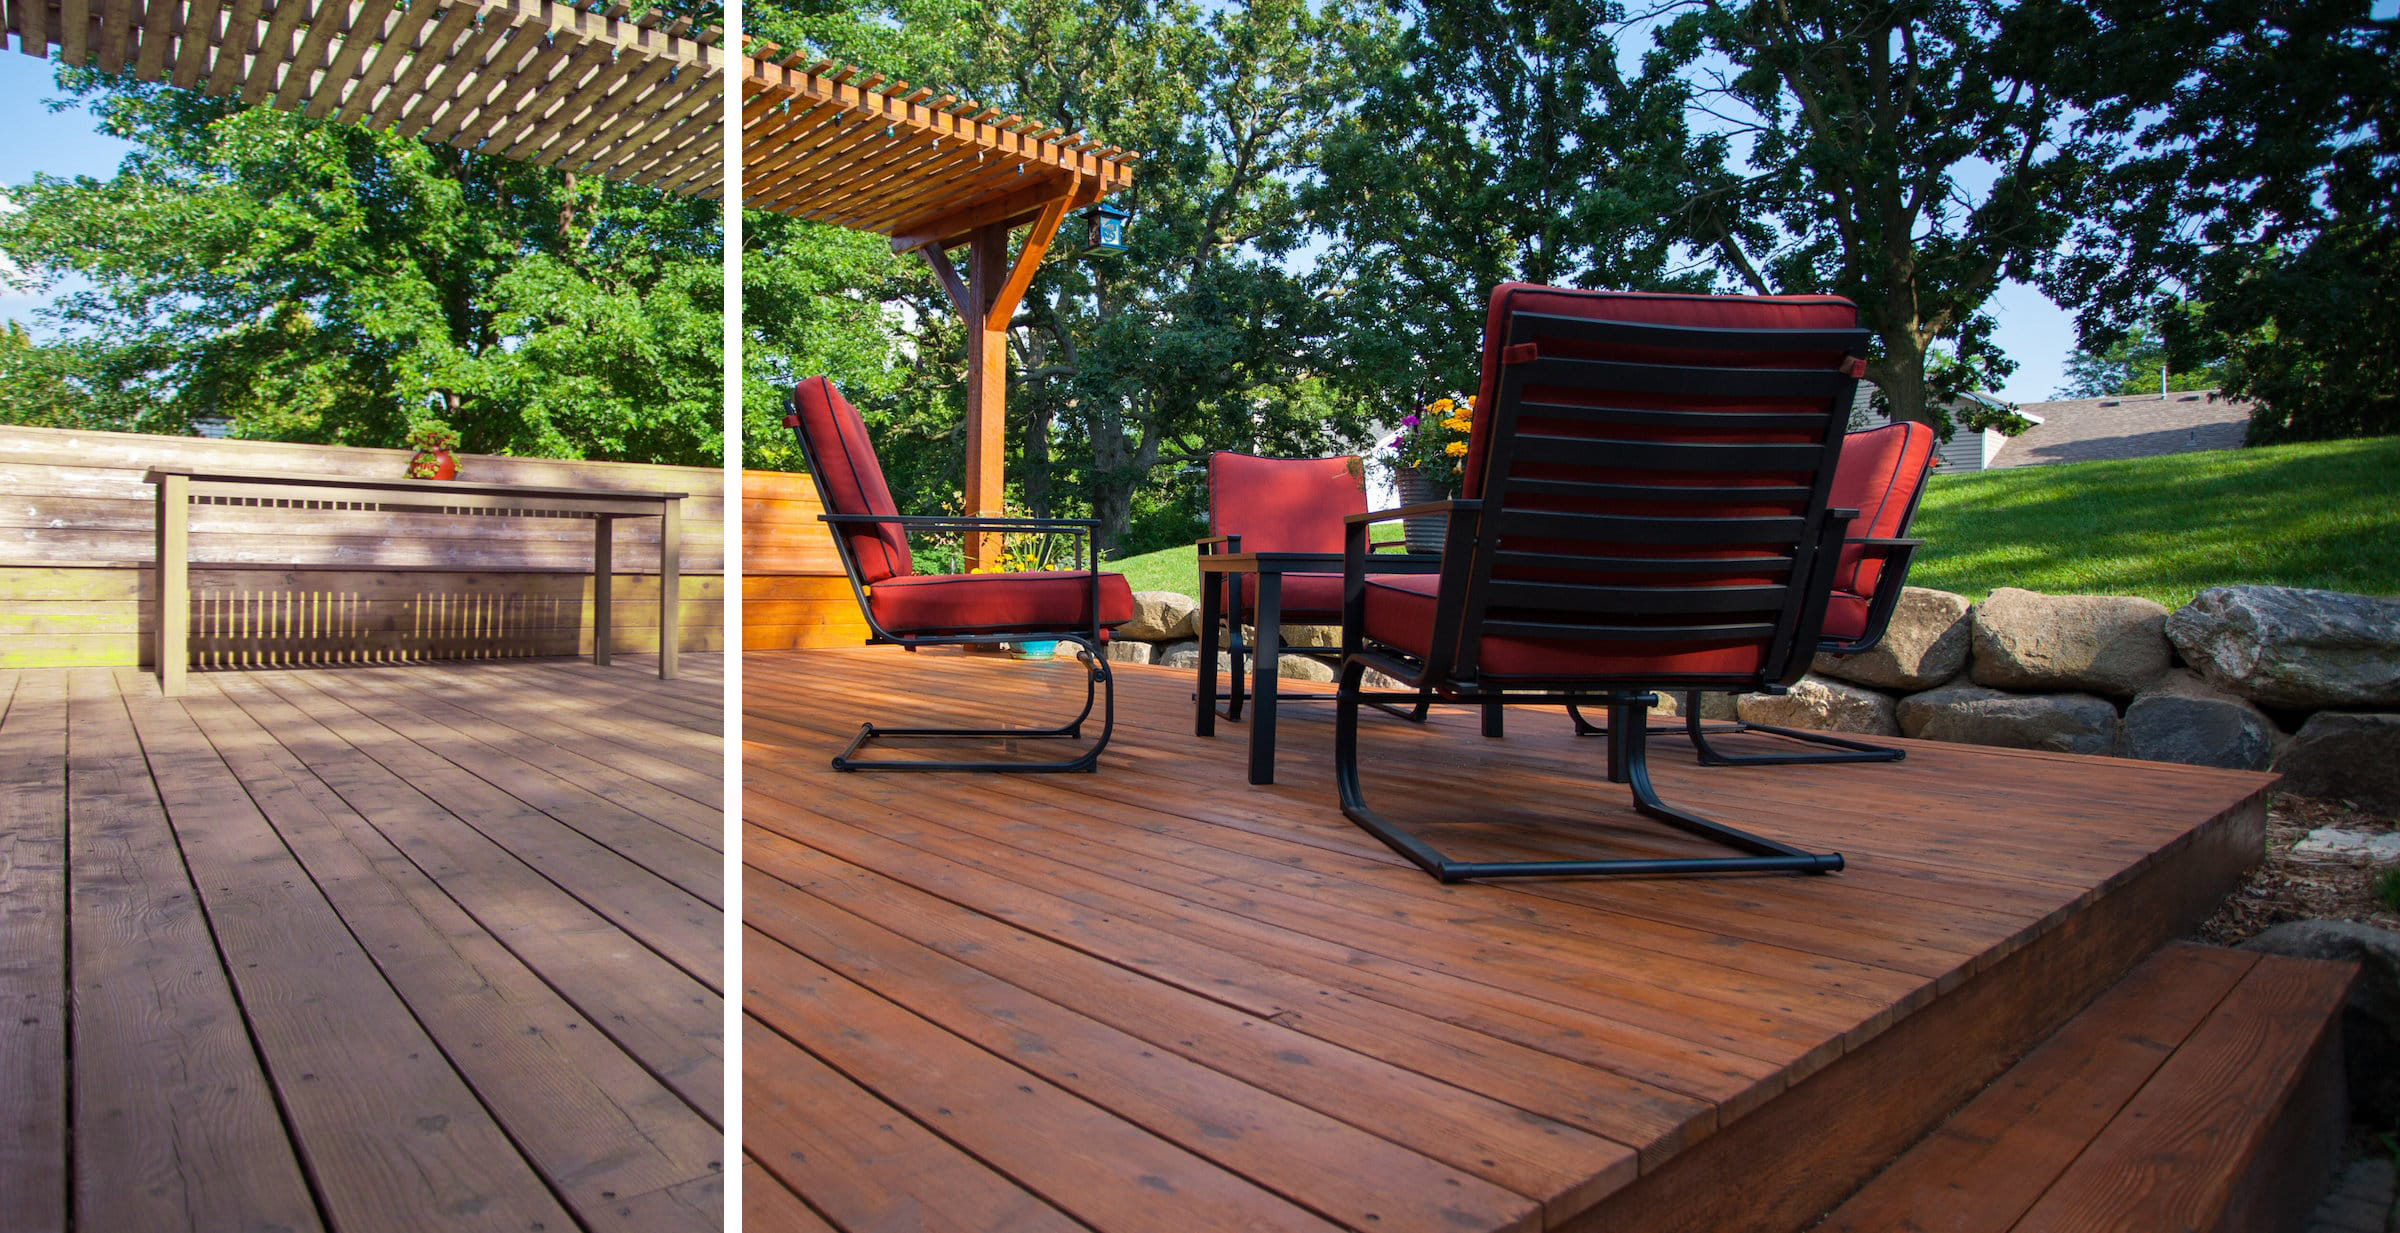
- Enhanced Appearance:
- Staining brings out the natural beauty of the wood grain and enhances the overall aesthetic of your outdoor space, giving your deck a fresh, clean, and attractive look.
- Mildew and Rot Resistance:
- Many stains contain mildewcides that help prevent mold, mildew, and fungi growth, protecting the wood and keeping it looking great.
- Easier Maintenance:
- Staining creates a smooth surface that repels dirt and debris, making the deck easier to clean and maintain throughout the year.
Steps to Properly Stain Your Deck
1. Choose the Right Stain
- Types of Stains:
- Transparent Stains: These allow the natural grain of the wood to show through, offering minimal UV protection.
- Semi-Transparent Stains: These provide a good balance of color and natural wood visibility, offering better UV protection.
- Solid Stains: These offer the most protection against UV rays and moisture but cover the wood grain more completely.
- Water-Based vs. Oil-Based Stains:
- Water-Based Stains: Dry quickly, easy to clean up, and are more environmentally friendly.
- Oil-Based Stains: Penetrate deeper into the wood, providing excellent protection and longevity but require more careful application and cleanup.
2. Prepare the Deck
- Clean the Deck:
- Remove all furniture, planters, and other items. Sweep the deck to remove loose debris, leaves, and dirt.
- Use a deck cleaner or wood brightener to clean the surface thoroughly. This step removes dirt, mildew, and old stain residue, ensuring the new stain adheres properly.
- Pressure Wash (if necessary):
- Use a pressure washer to deep clean the deck, but be careful not to damage the wood. Allow the deck to dry completely before staining.
- Sand Rough Spots:
- Sand any rough or splintered areas, especially where the wood has become raised or uneven. This helps create a smooth, even surface for staining.
3. Check the Weather
- Ideal Conditions:
- Choose a day with moderate temperatures (50°F to 85°F or 10°C to 29°C), low humidity, and no rain in the forecast for at least 24-48 hours. Avoid staining in direct sunlight or windy conditions, which can cause the stain to dry unevenly.
4. Apply the Stain
- Stir, Don’t Shake:
- Stir the stain thoroughly before application to ensure the pigments are evenly distributed.
- Tools:
- Use a quality brush, paint pad, roller, or sprayer, depending on your deck size and stain type. A brush or paint pad is recommended for better control and even coverage.
- Application Technique:
- Start with the railings and work your way down to the deck boards.
- Apply the stain in long, even strokes, following the grain of the wood. Avoid overlapping or leaving puddles, as these can create uneven spots.
- Maintain a Wet Edge:
- To prevent lap marks, keep a wet edge while staining and avoid stopping midway across a board.
5. Allow to Dry and Cure
- Drying Time:
- Allow the stain to dry according to the manufacturer’s instructions, usually 24-48 hours. Keep the deck free of foot traffic and items until the stain has fully cured.
- Multiple Coats:
- Depending on the product and your desired look, a second coat may be necessary. Ensure the first coat is completely dry before applying the second.
Tips for Success
- Test the Stain: Before applying the stain to the entire deck, test it on a small, inconspicuous area to ensure the color and finish meet your expectations.
- Regular Maintenance: Stained decks should be maintained annually or as recommended by the stain manufacturer to keep them looking fresh and protected.
- Proper Cleanup: Clean your brushes, pads, or sprayer immediately after use according to the stain’s cleanup instructions (water for water-based stains and mineral spirits for oil-based).
Conclusion
Staining your deck is a crucial maintenance task that preserves the wood’s beauty, protects it from the elements, and extends its life. By following the proper steps, choosing the right stain, and applying it under ideal conditions, you can achieve a stunning and durable finish that enhances your outdoor space. Regular staining and maintenance will keep your deck looking its best for years to come.
Welcome to WordPress. This is your first post. Edit or delete it, then start writing!

Leave a Reply